The Map Toolbar appears at the top of the Map Screen. The toolbar is visible in Map Mode, ie. when no features are selected and disappears when a feature is selected on the map.
 Back to Map List: closes the map and returns to the Map List. Any GPS recording will stop.
 Search: opens the Search screen. You can search for coordinates, addresses and more. See more ›
 Camera: opens your device camera or external camera if it is attached See more ›
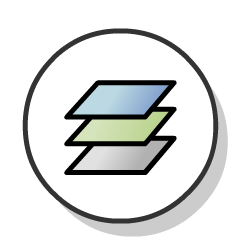 Open Layers Sidebar: contains Base Maps, Live Feeds, Map Features and the Add Files button. See more ›
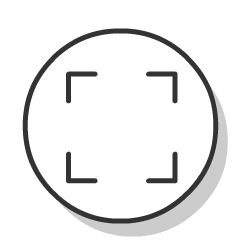 Fit to Map Extents: moves the map to fit all map features on your screen.
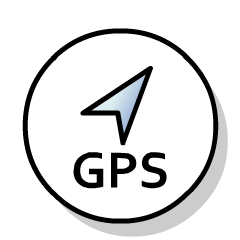 Re-centre on My Location: this icon will change depending on the source of the location information.
 ADS-B Location: an ADS-B receiver.
 Bluetooth GPS Location: eg. the Garmin GLO, Bad Elf.
 External App Location: a third party application (eg. a GPS simulator app).
 Network Location: nearby Wi-Fi networks and cellular towers.
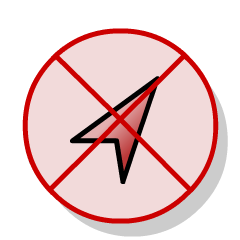 No Location: location unknown (eg. app does not have location permissions).
 Map Properties: view map activity, export the map, download offline base layers. See more ›
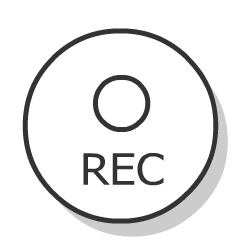 GPS Recording: Record a line using your GPS. See more ›