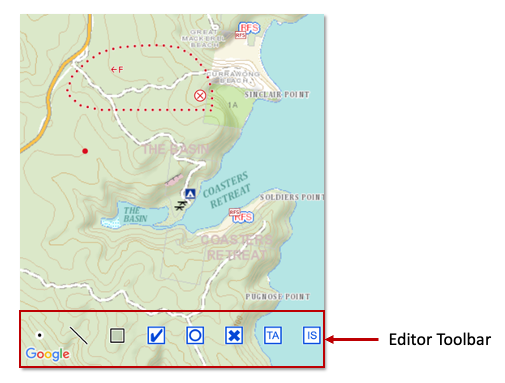
Editor Toolbar
The Editor Toolbar is visible in Map Mode, ie. when no map features are selected on the map and you are zoomed on the map. The toolbar disables when a feature is selected or if you are zoomed out too far for adding features to the map.
Note
If you can’t see the Editor Toolbar at the bottom of the Map Screen try the following:
Unselect any selected map feature by tapping in a blank area of the map.
Make sure you are zoomed in. Editing the map is not supported when zoomed out at a statewide/country level.

You can drag your finger left and right on the toolbar to scroll through the list of feature types that can be added.
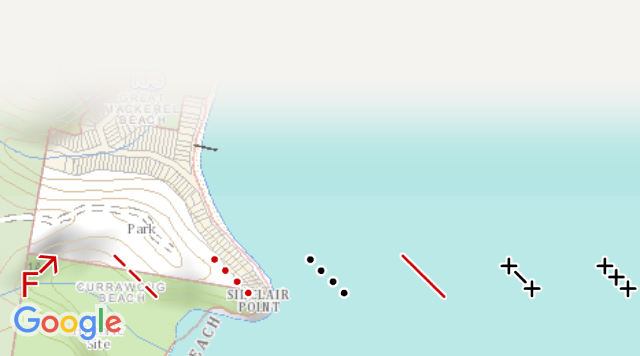
There are three different types of editors that can be opened depending on the feature type you select in the Editor Toolbar; Point, Line and Area Editors.
Point Editor
Drawing a new Point:
Select a point type from the bottom toolbar. You can scroll left to right to access different feature types.
Tap and hold in the location you want to add your point.
Line Editor
Drawing a new Line:
Move the map to the area where you want to draw as you can not move the map while drawing the line.
Select a line type from the bottom toolbar. You can scroll left to right to access different feature types.
The Map view will enter line drawing mode. You will see the following at the top of the window.
Draw a line on the map by dragging your finger across the screen.
Line distance will appear at the top of the map. If you close the shape, the enclosed area will also appear for the line.
Tap the tick button on the bottom left to save.
If you are using a shared map and have auto-sharing enabled, the new line will automatically be shared with other users on the same map.
Area Editor
Drawing a new area:
Move the map to the area where you want to draw as you can not move the map while drawing the area.
Select an area type from the bottom toolbar. You can scroll left to right to access different feature types.
Drag your finger to trace the perimeter of the area on the map. The area will auto-close the polygon when you either cross your drawn perimeter with your finger or when you lift your finger off the screen. The permieter and area will be displayed at the top of the screen as you draw the area.
Tap the tick button in the bottom left corner to save the area.
If you are using a shared map and have auto-sharing enabled, the new area will automatically be shared with other users on the same map


